This section is dedicated to creative crafts my friends and I have done, or irresistible ideas I have found.
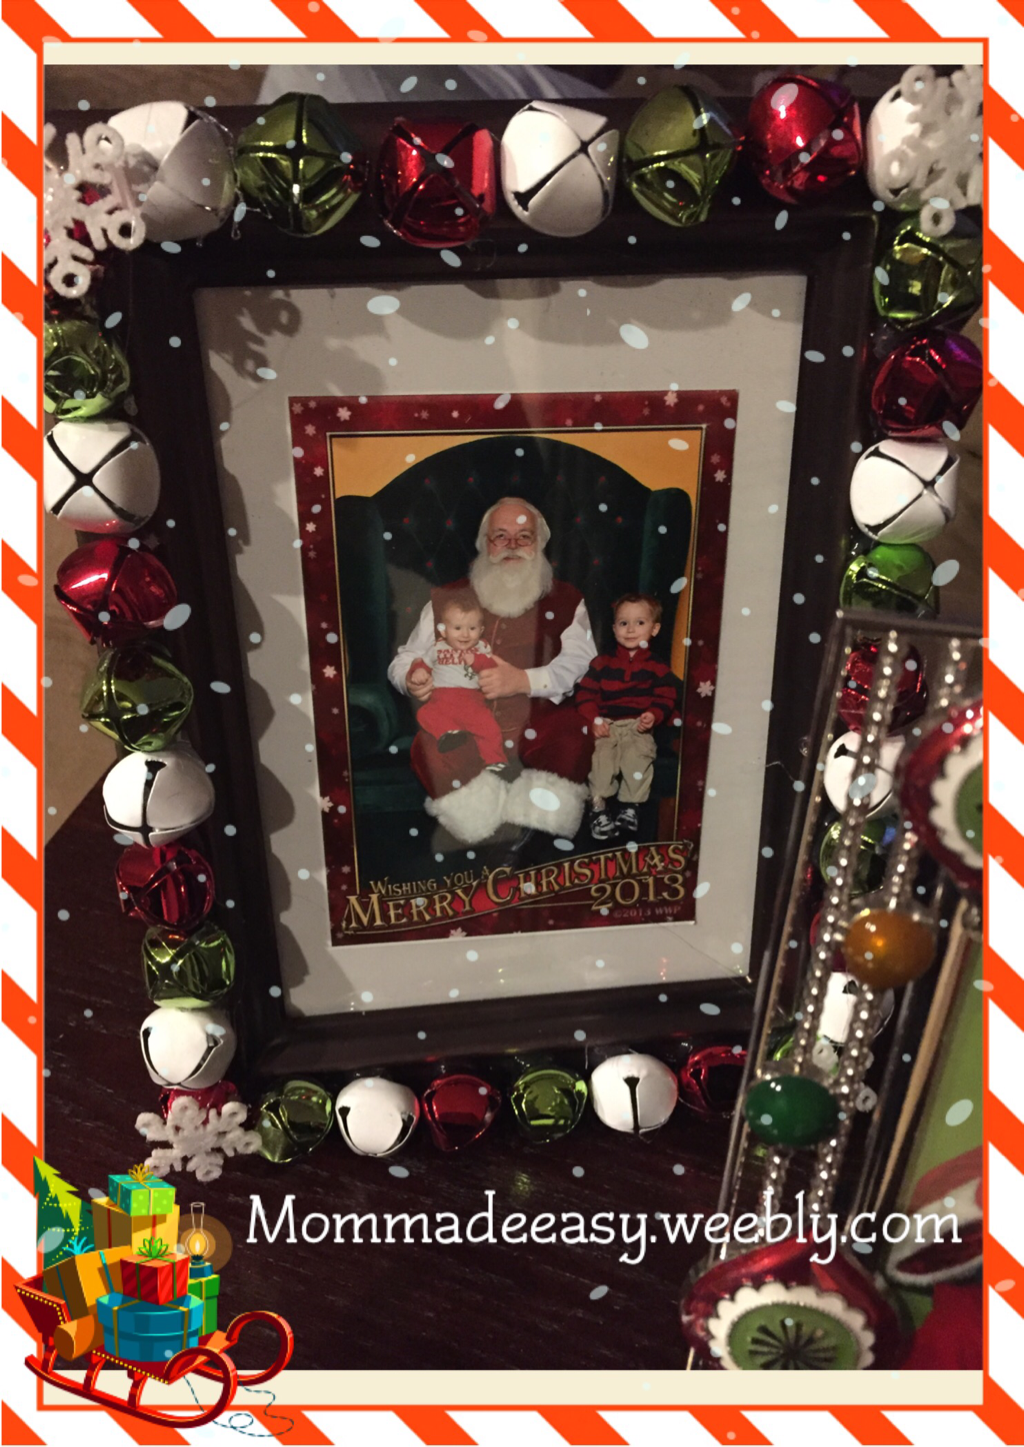
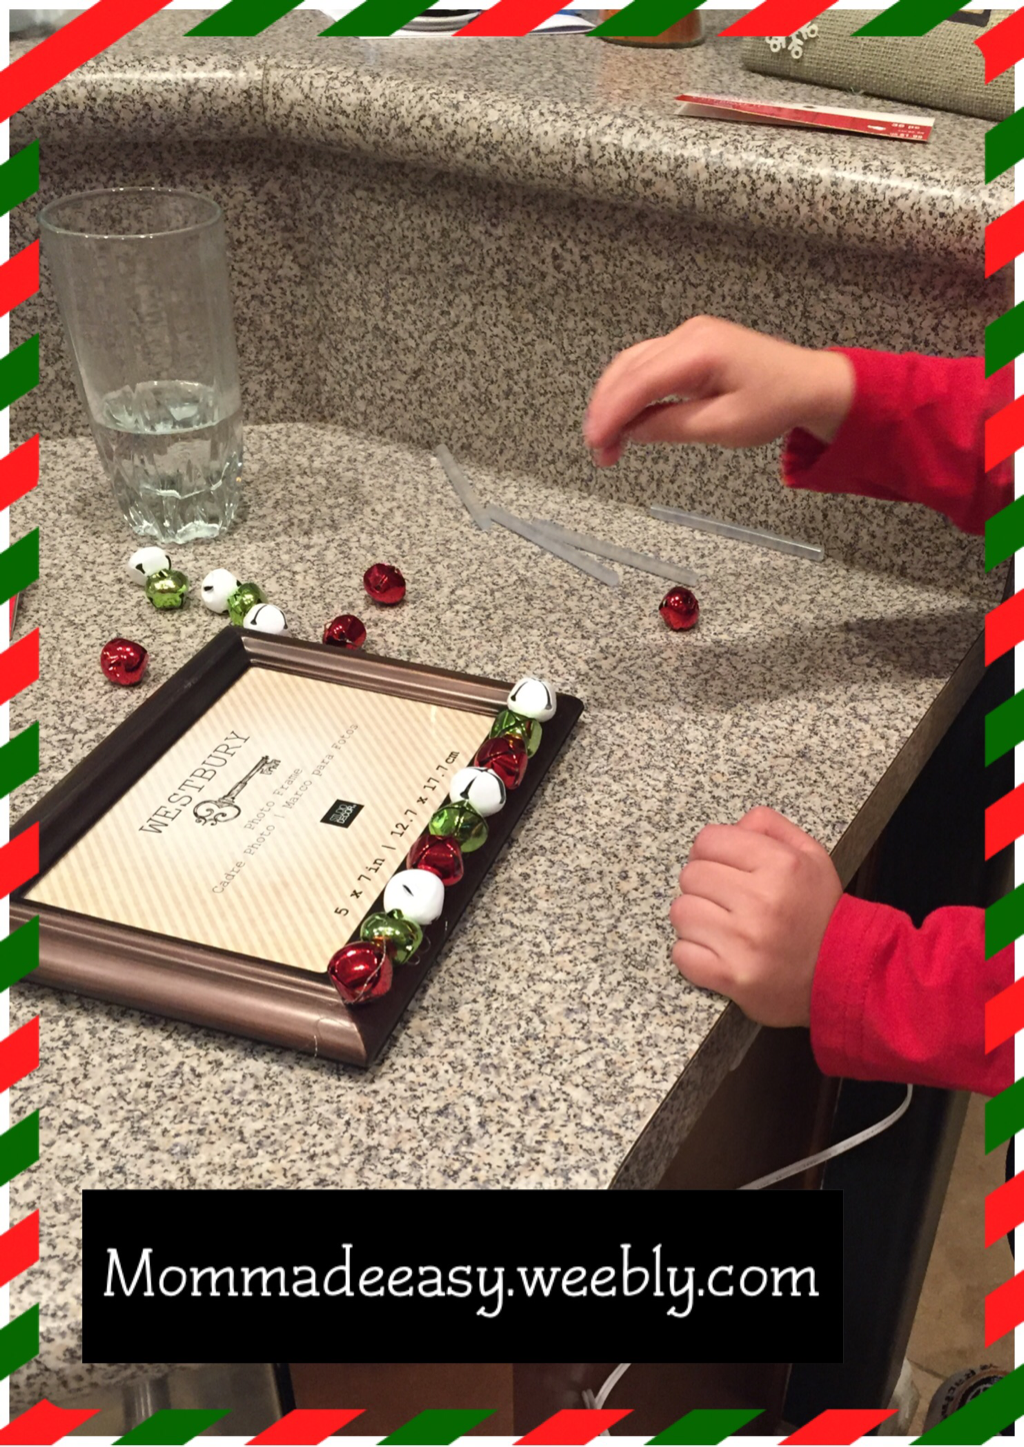
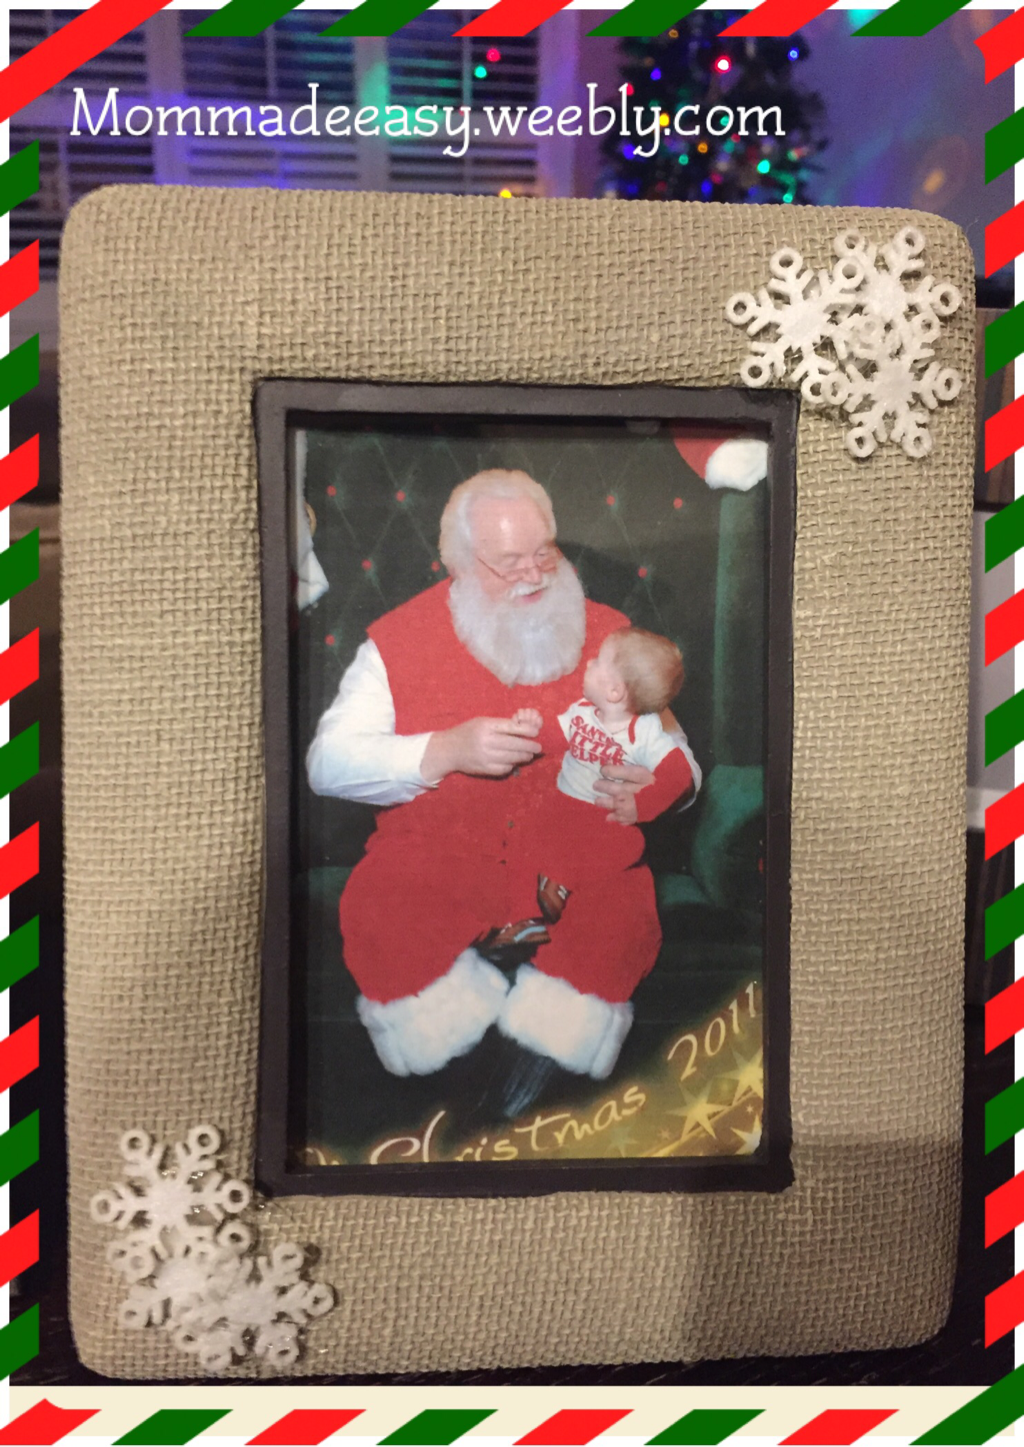
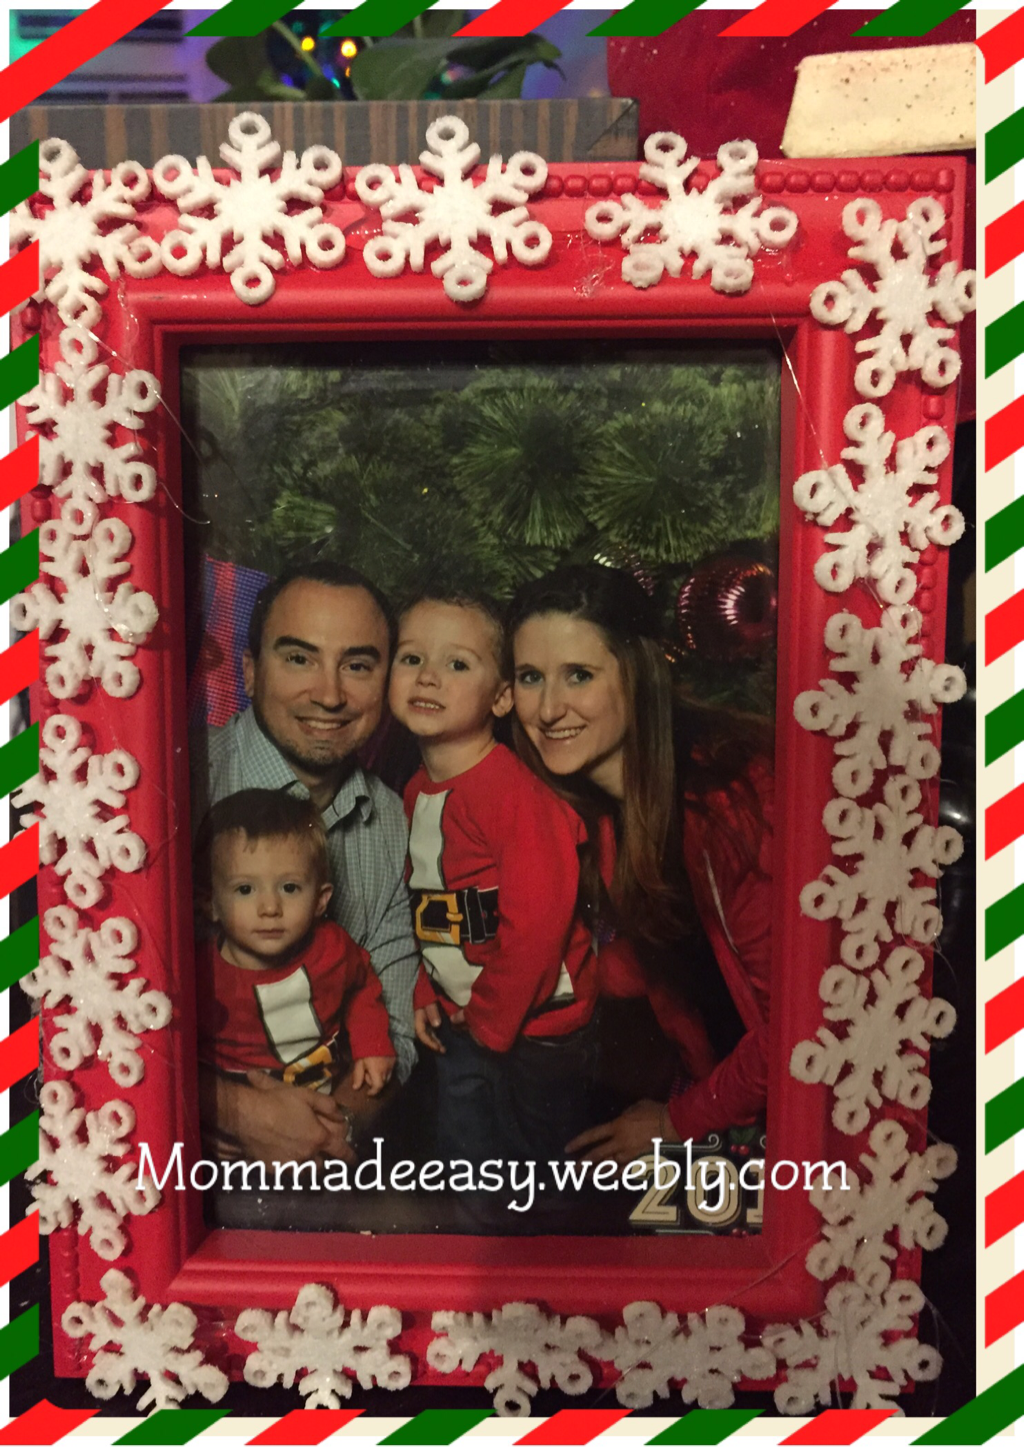
DIY Holiday Frames
|
I love putting each year's Santa pictures in fun Christmas frames. I've had trouble finding them however because.... I'm cheap. So after my husband broke the frame I splurged on (sniff sniff), I went on a spree to find new holiday frames. I ended up buying three clearance frames for $6 at Michaels, as well as multicolored bells, and snowflakes (found in the holiday table decor). Five minutes later, and hot glue, I had three super fun/festive frames!
|
|
|
|
|
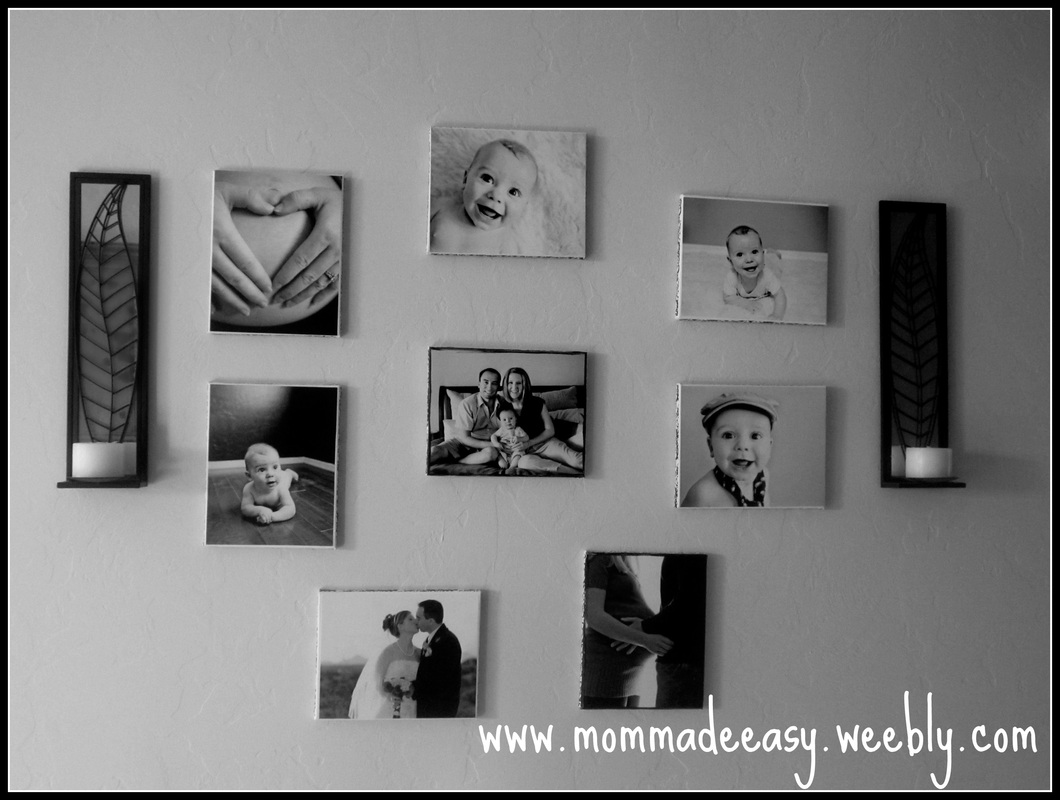
DIY Gallery (Canvas) Wall
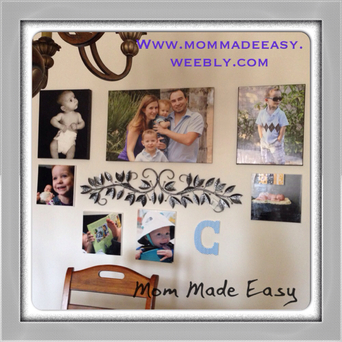
Somebody had put a (sort of) picture of their gallery wall on Instagram and I LOVED it. So I decided to make my own. I already have a gallery wall of 8x10 matching black and white photos. But I wanted another wall of big canvas' that don't match. Here's how I did it:
1) Print pictures at Costco Photo. They were super cheap for the giant prints. The 16x20 prints were around $5.
2) Buy canvas' from Michaels to match your print size. I lucked out and hit a HUGE sale and got the giant canvas' for around $5 each.
3) Modge Podge the pictures on the canvas'. To find step by step directions how to do it, scroll down further on this page to my other gallery wall.
4) Find other items to put on the wall. I found a wooden "C" and put scrap booking paper on it with modge podge. I also found the scroll for 70% off at Michaels.
5) Lay down all your canvas' and other items on the floor until you like the way it's set up.
6) Then MEASURE MEASURE MEASURE!! I started with my center photo and went out on each side. I measured between each picture and made sure I added 1/2 of the canvas size.
*** 2 of my photos are professionally made canvas'. All the others are mine. Can you tell the difference?
Make sure you get the MATTE modge podge. I made the mistake of doing glossy. :(
GOOD LUCK!!!
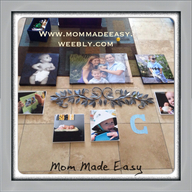
I put it on the floor first to see where I liked each picture.

|
|
|

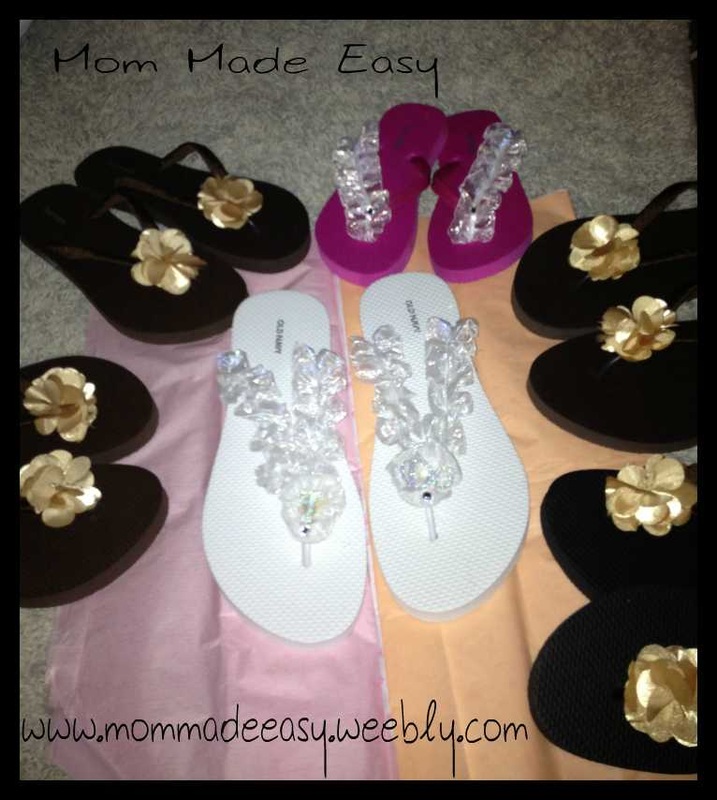
Bridal Party Flip Flops
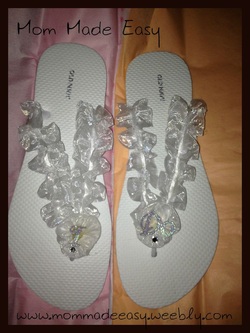
So my sister was recently the Maid of Honor in a lovely wedding. She wanted to make flip flops for the bridal party to wear to the mani/pedi's, and after the ceremony. I thought they turned out so pretty!
She bought the flip flops at Old Navy for around $5 and the rest of the supplies she got at Michaels. Here's what you need:
Bride's Shoes:
- White "fluffy" ribbon. This ribbon was in the bridal section. She didn't wrap the ribbon around the straps. It was so pretty, all she did was hot glue it straight onto the straps.
- Embellishments for the corner of the straps. You can't really tell in the picture, but she bought a little "I" and "Do" embellishments and glued them onto the ribbon.
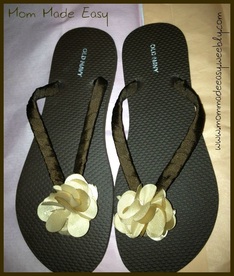
Bridal Party Shoes:
- Satin ribbon in whatever color you want. My sister chose brown because that matched their bridesmaid's dresses.
- Satin flowers. These come in a six pack and are hanging on the ends of the aisles. They were very hard to find, but worth the search.
Again, she used hot glue, but wrapped the ribbon around the straps. Then a dab of hot glue under each flower, and *poof* fancy flip flops!
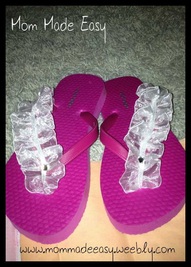
Flower Girl Shoes:
- Remnants of the bride's "fluffy" ribbon. These shoes were very simple to make, and the flower girl loved them!! But what little girl wouldn't love pink flip flops with ribbon??
- Satin ribbon in whatever color you want. My sister chose brown because that matched their bridesmaid's dresses.
- Satin flowers. These come in a six pack and are hanging on the ends of the aisles. They were very hard to find, but worth the search.
Again, she used hot glue, but wrapped the ribbon around the straps. Then a dab of hot glue under each flower, and *poof* fancy flip flops!
Flower Girl Shoes:
- Remnants of the bride's "fluffy" ribbon. These shoes were very simple to make, and the flower girl loved them!! But what little girl wouldn't love pink flip flops with ribbon??

Pictures on Wood Plaque's
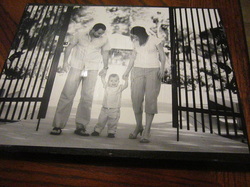
I wanted to make a gift for my grandmother, but thought it would be too boring just to frame pictures for her. So I decided to Mod Podge the pictures on wooden plaques.
|
|
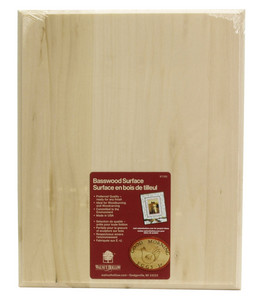
1) Buy a plain wood plaque from Joann's. Or you can cut your own board if you're handy that way. :)
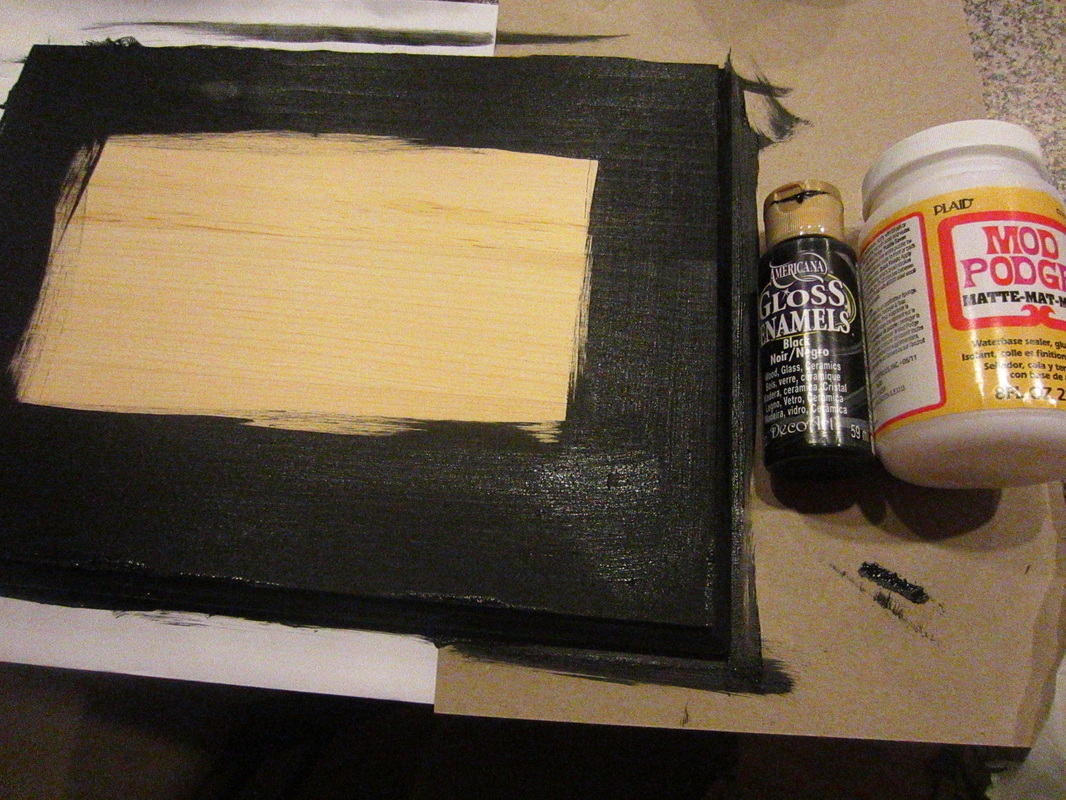
2) Paint the edges and back of the plaque any color. I chose black because my photo was black and white. I didn't paint the entire plaque because the picture would cover the majority of it. Allow it to dry entirely.
3) Lay down a layer of wax paper and paint a thin layer of Mod Podge on the back of the photo. Then paint another thin layer of Mod Podge on the front of the wood
4) Lay the picture on the wood and smooth out with your *clean* hand.
5) Allow to dry for at least 20 minutes.
6) Paint another layer of Mod Podge over the entire front of the picture and sides of the wood. Allow to dry.

Nursery Black Out Shades
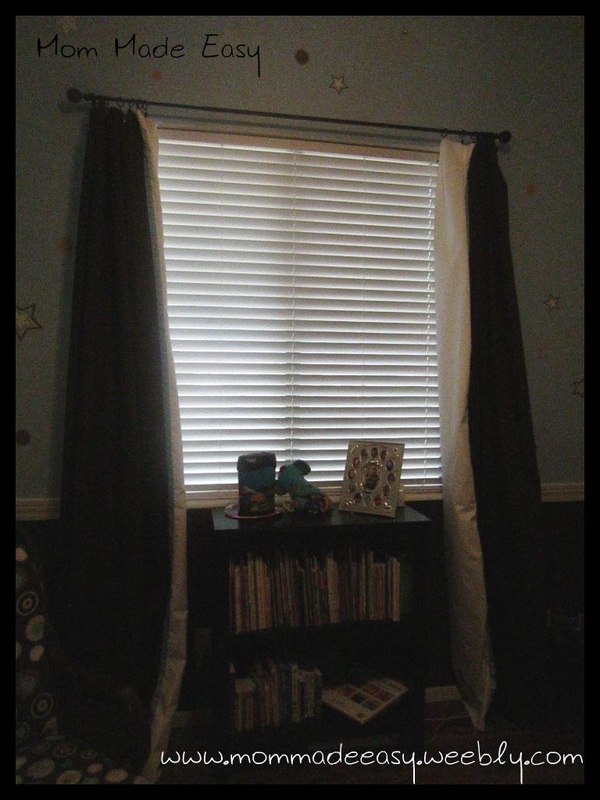
My child sleeps till 9-10 everyday. There I admitted it out loud. I know people are very jealous of my little sleeper and I have no complaints. But the past couple weeks, he's been getting up at *GASP* 7:00 am (and a couple times at 6:30). That is why I decided he needs blackout shades. And if you know me, you'd know that once I set my mind to something, I don't give up. Well the problem: We have extremely tall windows. The curtain panels I found for my 90" window to floor dimensions were quite pricey. So I thought "how hard can it be to make them"? So that's what I did. They have been hanging up for 4 days now and I've had 4 days of blissful sleeping in. (I'm not counting the 4-5 times per night that I have gotten up with my child because these curtains went up as "A" got a cold).
I thought, I would share these simple directions on how to make your own blackout curtains.
1) Start collecting JoAnn's coupons stat!!! The blackout material is $12.99/yard.
2) Measure your windows and buy enough so two panels can cover your window with about 5-10 extra inches.
You can either hang up the white blackout material, or you can add extra material to the front so it matches the room. I also found out that the extra material helps keep the light out.
3) Cut your second colored fabric to match (I cut mine so it was slightly smaller than the blackout material. Now I have a fun stripe.
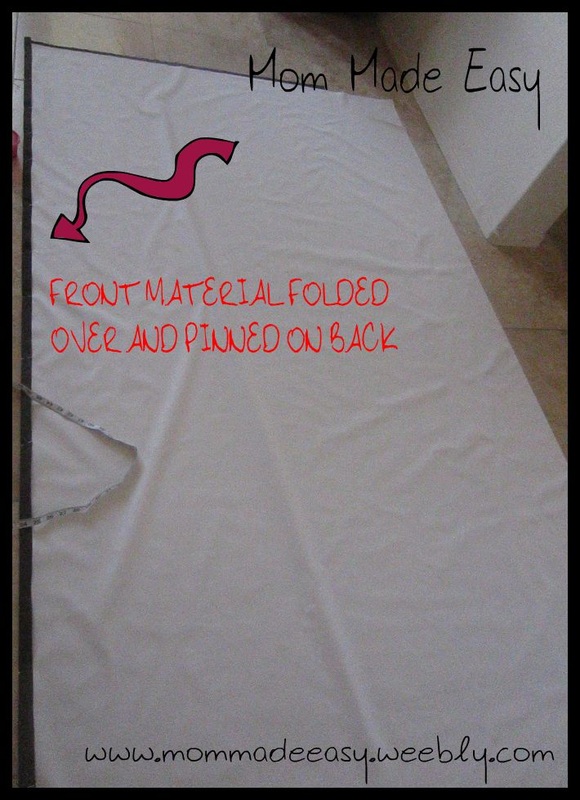
4) Pin the colored fabric onto the front of the blackout material. I did this by laying the colored fabric down, then laying the blackout fabric on top of it. It was kind of tricky to get it smooth and straight, but somehow I did it. Then I folded over the colored fabric (about 1") and pinned it to the back of the blackout fabric. (Who's going to see the back anyway?)
I thought, I would share these simple directions on how to make your own blackout curtains.
1) Start collecting JoAnn's coupons stat!!! The blackout material is $12.99/yard.
2) Measure your windows and buy enough so two panels can cover your window with about 5-10 extra inches.
You can either hang up the white blackout material, or you can add extra material to the front so it matches the room. I also found out that the extra material helps keep the light out.
3) Cut your second colored fabric to match (I cut mine so it was slightly smaller than the blackout material. Now I have a fun stripe.
4) Pin the colored fabric onto the front of the blackout material. I did this by laying the colored fabric down, then laying the blackout fabric on top of it. It was kind of tricky to get it smooth and straight, but somehow I did it. Then I folded over the colored fabric (about 1") and pinned it to the back of the blackout fabric. (Who's going to see the back anyway?)
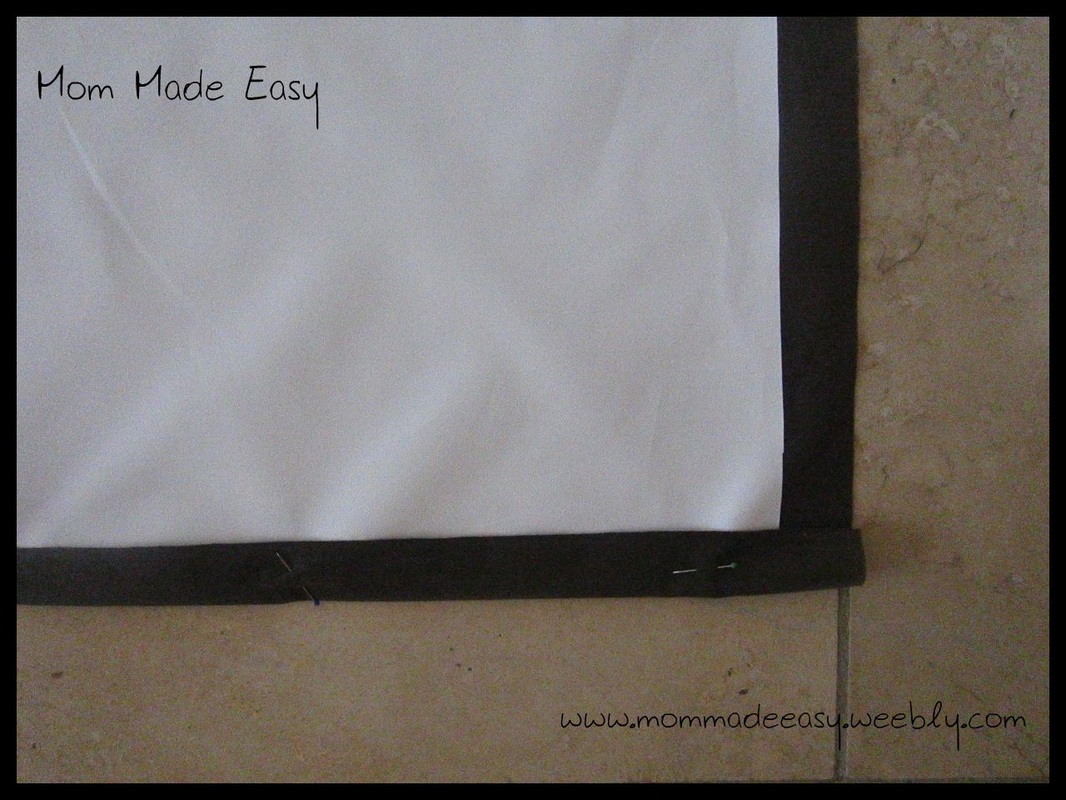
4) Sew a simple stitch around the curtain panel.
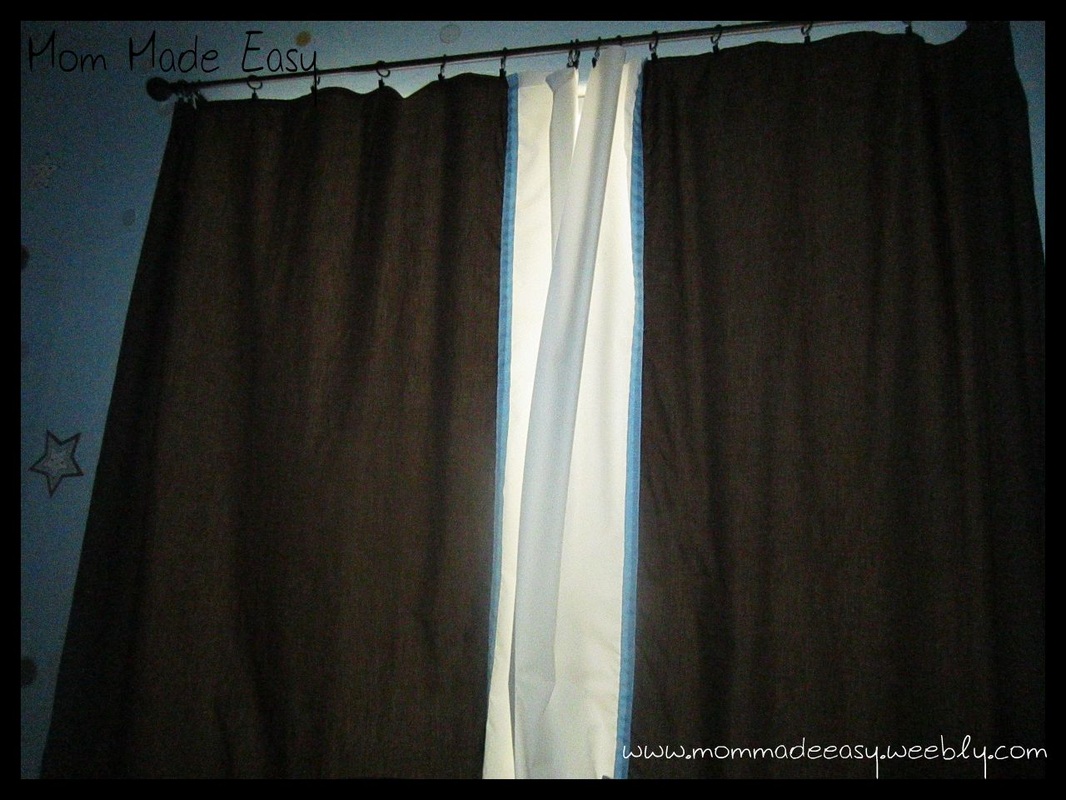
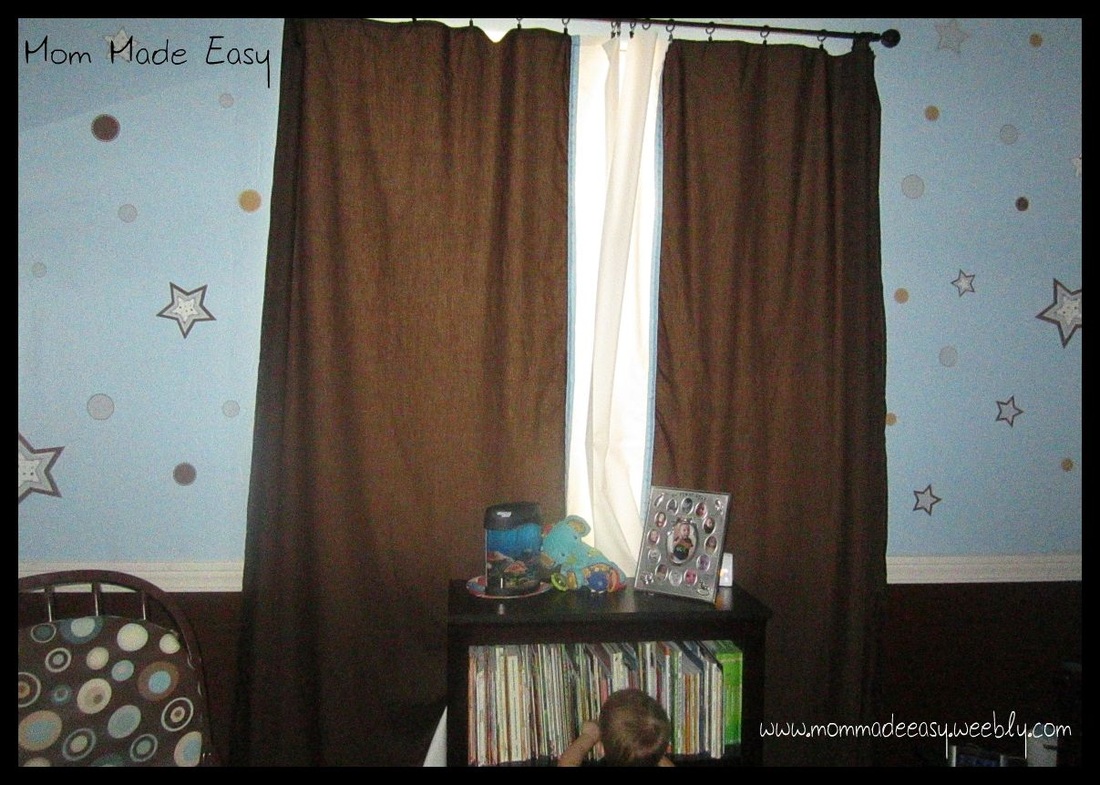
5) Add ribbon or other decorative items. I added blue ribbon down the panel between the brown and white. It tied in the fabrics nicely and made stripes to match the nursery wall.
5) Add ribbon or other decorative items. I added blue ribbon down the panel between the brown and white. It tied in the fabrics nicely and made stripes to match the nursery wall.
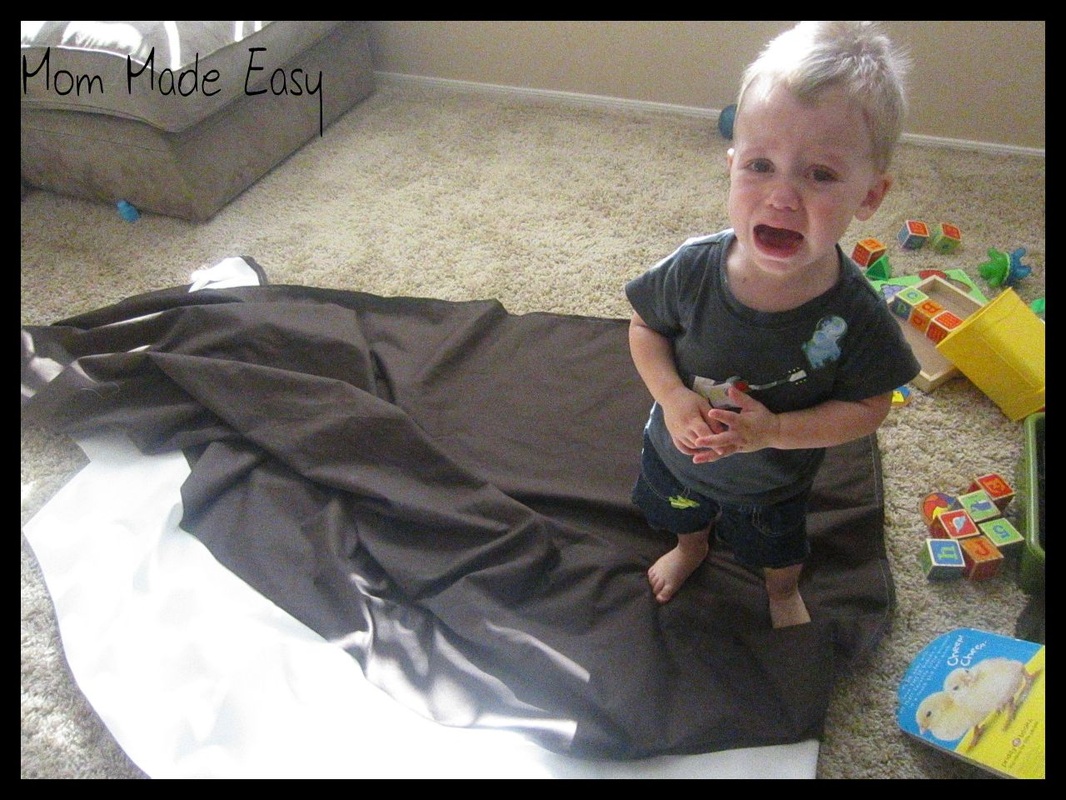
This is why you wait until nap time to work on projects.
6) Clip on curtain hooks (I bought those at JoAnn's too. They are normally $10 for 10, but were on sale this week) This way you don't have to worry about sewing holes or adding grommets.
7) Hang up and enjoy the darkness!

Saturday 6/16/12
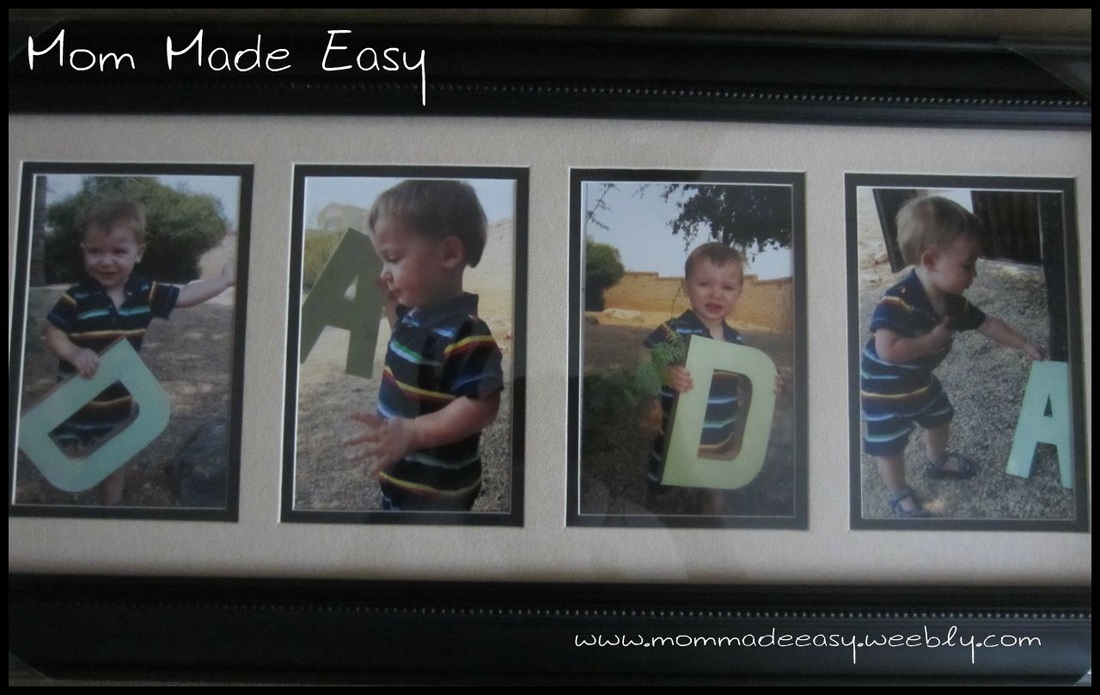
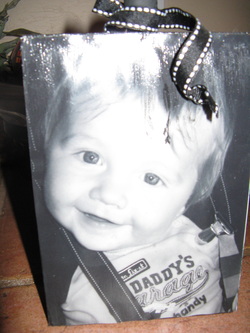
Last Minute Father's Day Present
This gift is super cute and super easy. And don't worry, you can get it done before tomorrow. All you need. . . . Giant letters from JoAnn's, a frame (also from JoAnn's or Michaels), a camera, and slightly happy child.
My friend Christy and I did this together and we got many screaming pictures of our boys, but the happy ones turned out great. Christy bought a 5 frame with five picture spots, and did "Daddy". Good luck!!
My friend Christy and I did this together and we got many screaming pictures of our boys, but the happy ones turned out great. Christy bought a 5 frame with five picture spots, and did "Daddy". Good luck!!
.%20%20You%20get%20the%20point.%20%3A) "Pin It")
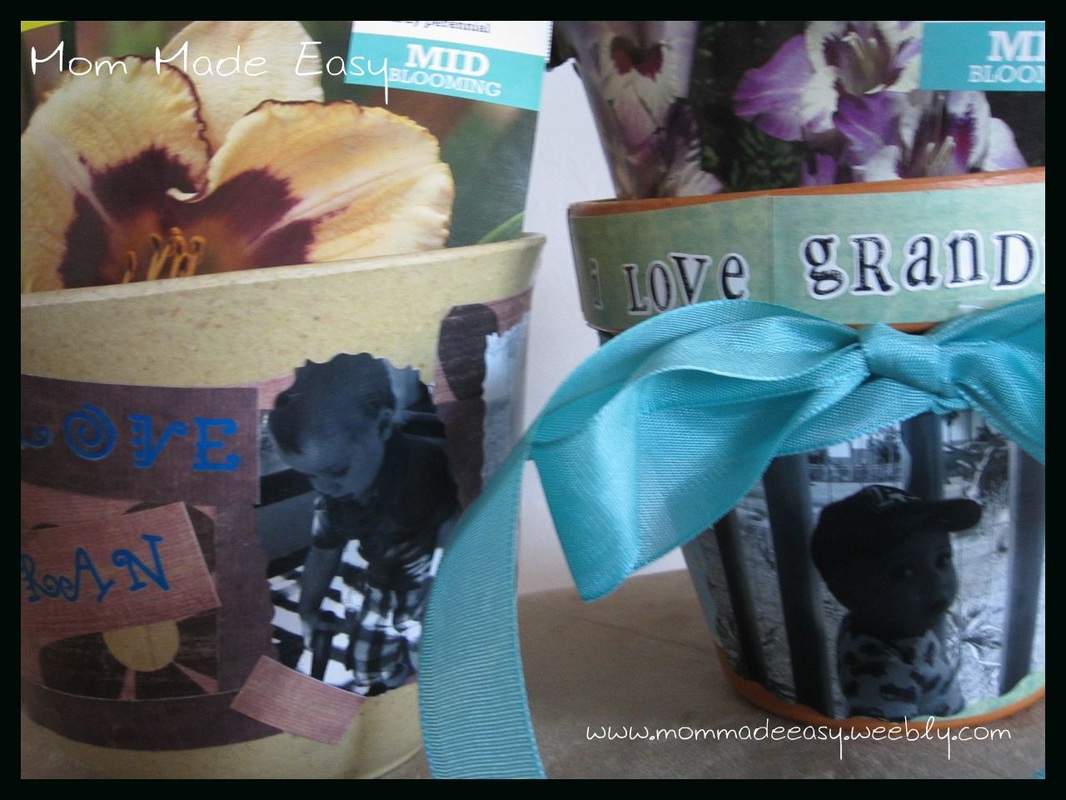
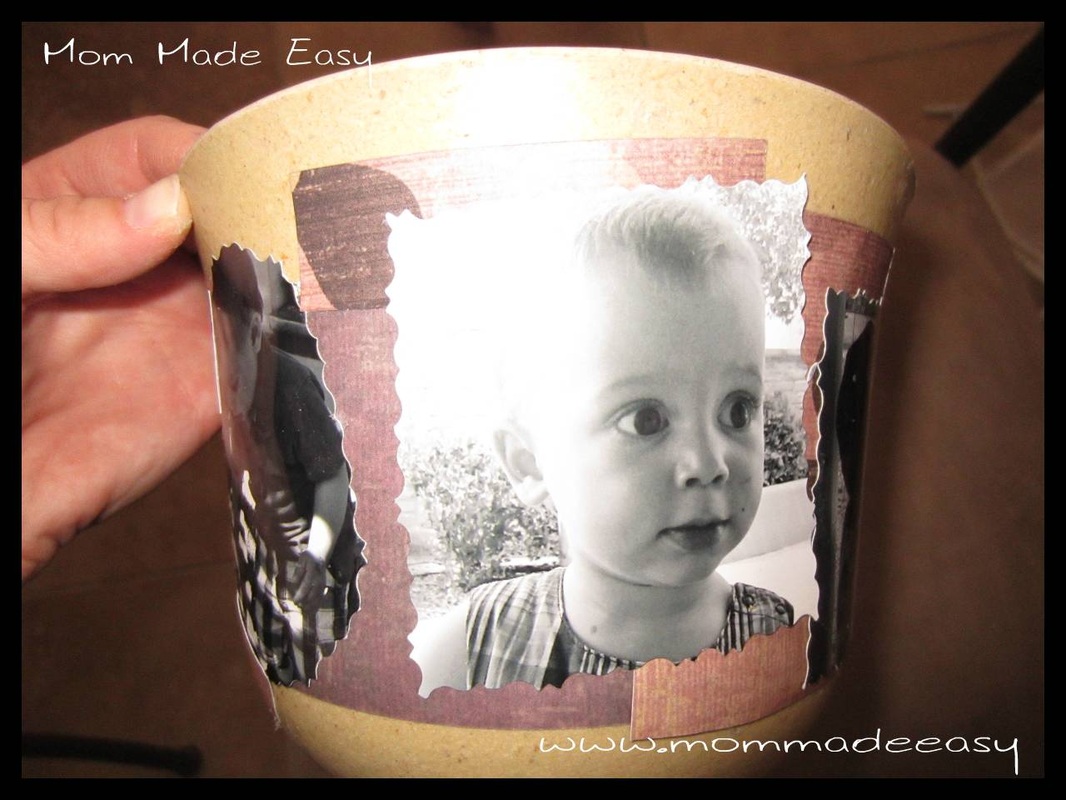
I needed a DIY Mother's Day Gift that could 1) go in the mail 2) have the baby's pictures on it. So I came up with Mod Podge Flower Pots with bags of flower bulbs in the pot instead of live flowers (which would be a disaster in the mail).
Here's how I did this project:
Supplies:
Scrapbooking paper
Paper cutter or scissors
Mod Podge
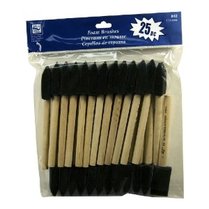
Foam Brush
Pictures
Ribbon
Flower pots
Stickers or letters cut out by the Cricut
Wax Paper (to place on the surface before painting on Mod Podge)
1) I cut the scrapbooking paper into different shapes (and different sizes)
Here's how I did this project:
Supplies:
Scrapbooking paper
Paper cutter or scissors
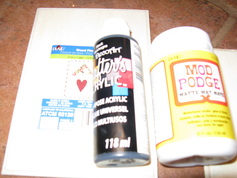
Mod Podge
Foam Brush
Pictures
Ribbon
Flower pots
Stickers or letters cut out by the Cricut
Wax Paper (to place on the surface before painting on Mod Podge)
1) I cut the scrapbooking paper into different shapes (and different sizes)
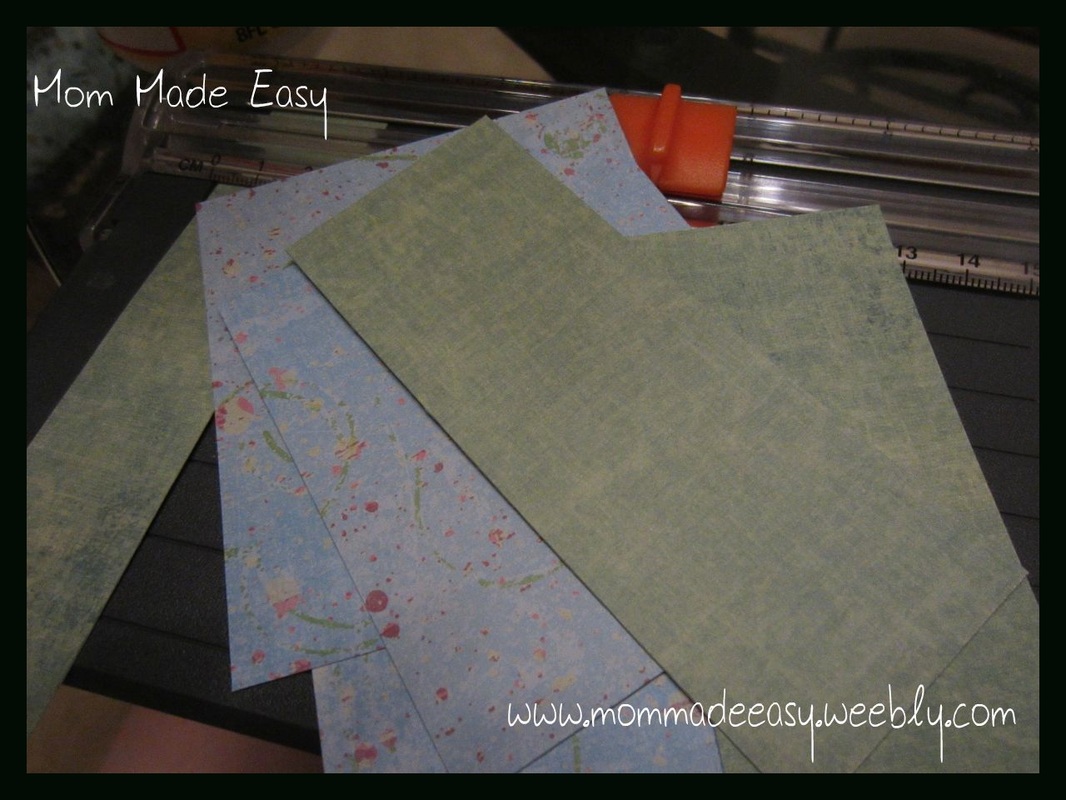
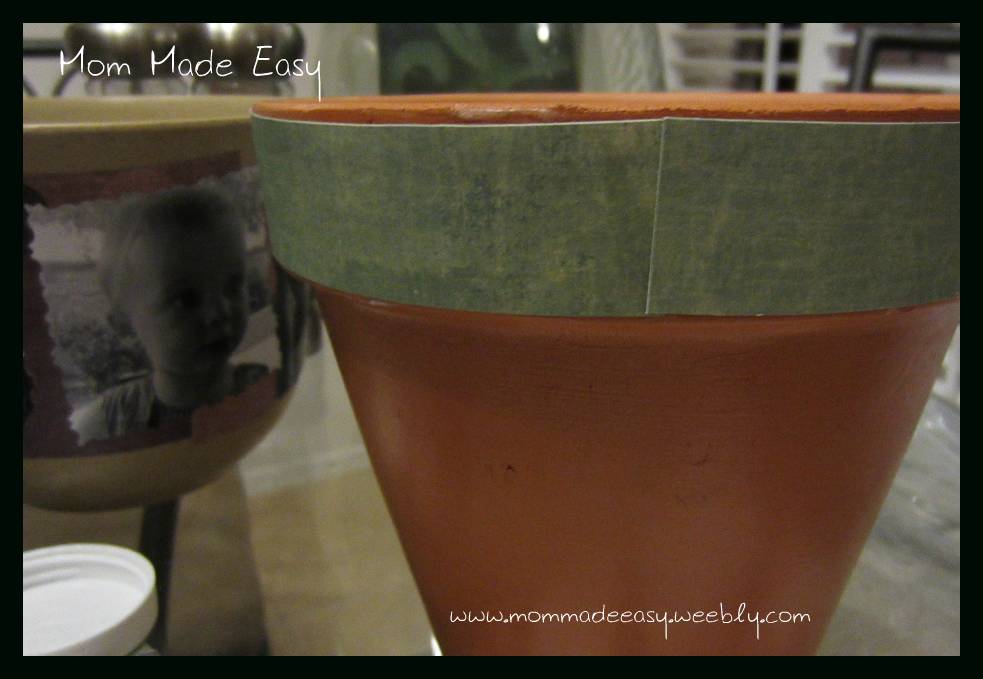
2) Then I spread a thin layer of Mod Podge over both pots (I used an "Eco" pot because it was lighter and be less expensive to mail), and allowed it to dry.
3) Then I painted on Mod Podge on the back of the paper and again on the flower pot where I wanted the paper.
4) I continued this with the paper and pictures, until the flower pot was mostly covered.
3) Then I painted on Mod Podge on the back of the paper and again on the flower pot where I wanted the paper.
4) I continued this with the paper and pictures, until the flower pot was mostly covered.
5) Then I added stickers and words.
6) Finally I painted on another layer of Mod Podge over the entire pot. This makes it look like one piece).
7) Then I added the ribbon (you can add any embellishments you think would look good).
6) Finally I painted on another layer of Mod Podge over the entire pot. This makes it look like one piece).
7) Then I added the ribbon (you can add any embellishments you think would look good).

Tuesday 4/10/12

Month to Month Photos
I'm not sure if this really fits into "crafty corner" but I don't think it fits anywhere else. Anyway, I've become such a fan of photo editing websites, and today a light bulb came on in my head. Why not make a picture noting each month and the exciting things that happened that month?!?!? I could make a picture with details for every month leading up to my son's first birthday. Luckily, my mother suggested when A was born to "journal" one thing everyday for the first year. This journal came in very handy when making these pictures. But you may ask, where do you find such websites? I'm here to help....... Here are a few I have found. Unfortunately the BEST website (www.picnik.com) is closing down permanently on 4/19. Sniff Sniff. But there are others that will do.
www.pixenate.com
www.fotoflexer.com
www.befunky.com
Good luck using these sites. I've had a lot of fun editing.
www.pixenate.com
www.fotoflexer.com
www.befunky.com
Good luck using these sites. I've had a lot of fun editing.


Monday 3/26/12
Photos on Canvas
This project turned out to be very easy, and I love the outcome. The best part was that I did it so cheap. I ordered my photos in 8x10's from Snapfish (I waited for a free shipping sale), and bought thin canvases from Michaels. I ended up getting them on sale, so they were $1.50 each!
Here's how to make your own photos on canvas.
Supplies:
Mod Podge (matte)
1 foam brush
scrapbooking paper
photos
wax paper
Canvas (same size as photo)
Directions:
1) Cut your photos so they are a hair smaller than the canvas on each side. Also cut your scrap booking paper into strips so you can put them on the sides of the canvas.
2) Brush on a thin coat of Mod Podge to the canvas and allow to dry for 20 minutes. Don't forget to Mod Podge the sides.
3) Then brush on another layer of Mod Podge on the canvas and brush on a layer to the back of your photo. This is where the wax paper comes in handy. I set it on my counter and brushed Mod Podge on the back of my photos. This way it doesn't stick to your counter, and you can get a new piece for each photo. You don't want dried Mod Podge sticking to the fronts of your photos.
4) Place the photo on the canvas and smooth out with your fingers. I've heard to do this with a rag or paper towel, but I am unsuccessful at doing that. My fingers worked the best. Just make sure you have clean hands. Also, make sure there are no edges that are sticking out.
Follow the same process with your strips of scrap booking paper for the sides.
5) Allow to dry completely. I have found that it takes about an hour. But times may vary according to where you live (humidity).
6) When dry, brush on a final coat of Mod Podge. This will make it look like it is one piece. Remember to go over the sides with Mod Podge also.

Notice the scrap booking paper on the sides?
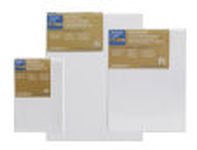
Artist's Loft 2 Pack Canvas' available at Michaels
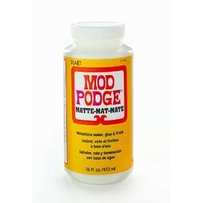
Mod Podge available on Amazon and at Michaels.

Friday 3/23/12
Family Name and Wedding Date

Again, my friend came up with something crafty. I'm always amazed by the things she comes up with. This she claims was super easy, and I claim it's super cute! Here's how to do it.
1) Paint a wood plaque or board and allow to completely
dry. (She used acrylic paint)
2) Brush on a thin layer of Mod Podge and allow to dry (about 20 minutes)
3) Using vinyl letters (from a Cricut) or large stickers, write out your name and when you were married. Make sure to lay them out before sticking them on.
(You can also use paper letters).
4) Paint on another layer of Mod Podge over the letters and entire plaque. Allow to dry (20 minutes).
5) Paint on your final layer of Mod Podge.
*** Be creative and add embellishments or sand the edges to make it look rustic.

Did You Know???!!!
I've discovered something great!!!!! There is a Jo-Ann app for your iPhone! The best part is that you can look at their coupons, save them, and use them by just showing the cashier your phone! The other great part I learned is that I can show the coupon to the cashier at Michaels, and they will accept the coupons too!!! Here's to saving money!
Friday 3/9/12
Shhhh! Baby Sleeping!
This week, I decided to sew some material together to keep the baby's door from closing all the way. It pushes the latch in so you don't have to turn the handle (which can be soooooo noisy). It was super easy to do, and I took pictures of each step. THE BEST PART. . . . IT'S COMPLETELY FREE! I used scrap material and ribbon. I'm not the best at measuring and sewing, so if I can do it, you can definitely do it!
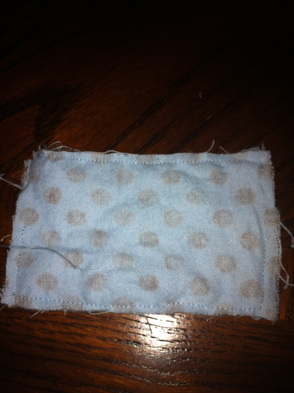
I sewed two rectangles together inside out. Making sure to leave a 1" hole not sewn on each side.
Turn in inside out.
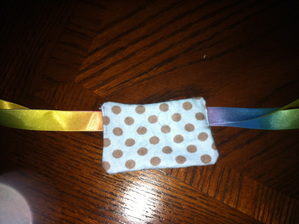
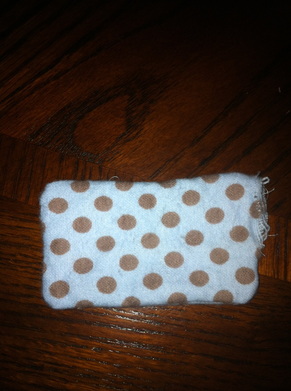
Put two ribbons in each hole, and fold the material in before sewing it closed. Note: I should have made the holes in the middle of the fabric (but who's judging).
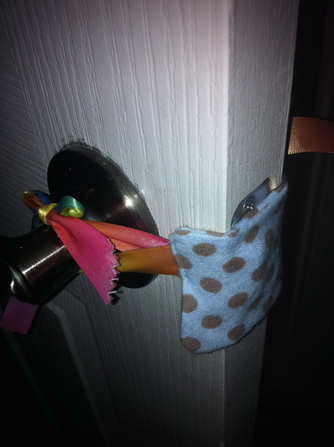
End product!
Wednesday 3/7/12
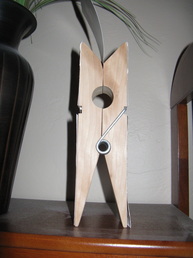
*Adorable* Note and Picture Holder
Here's yet another creative and adorable project that my crafty friend Christy made. You can get these large wooden clothes pins at Joann's or Amazon.
Here's how she made it......
Supplies:
- Large clothespin
- Mod Podge (matte)
- Foam brushes
- Scrapbooking paper (2 different colors/patterns)
- Letters (stickers or vinyl)
Instructions
1) Cut your scrapbooking paper to fit on the front of the clothespin (cut it a hair smaller so no edges are hanging over)
2) Spread a thin layer of Mod Podge over the front of the clothespin (allow at least 20 minutes to dry)
3) Spread another thin layer of Mod Podge on the back of the scrapbooking paper (I lay out wax paper before applying the Mod Podge. This way I don't get any gunk on my counter/table, and the scrapbooking paper won't stick to the wax paper.)
4) Cut squares out of the other (color/patters) paper for the each of the letters you're going to apply (notice how her squares cut perfectly)
5) Do the same process of Mod Podge in steps 2 and 3 again (allow the entire thing to dry overnight)
6) Stick letters on each of the squares and spread Mod Podge over the entire (front) project. (If you use letters that have depth, spread the Mod Podge over the entire thing and allow to dry before adding the letters)
Super cute project! Thanks Christy!
Finished product!

Christy and her handsome little man.
3/3/12
Dry Erase Calendar and Dinner Menu
I made this dry erase calendar and dinner menu for a friend's birthday. I couldn't decide which one she would appreciate more, so I made her both. :) It was super easy and turned out pretty well (if I do say so myself). Here's how to do it:
Supplies:
- A scrapbook frame (this is a frame that is square and would fit a scrapbook page and allows room for embellishments). You can use whatever size frame you want and cut the paper to size.
- Scrapbook paper
- A blank calendar (I printed a free one online)
- Ribbon, brads, and other embellishments. I used block letters and stickers.
- Glue or scrap booking stickies.
- Dry erase markers or Vis a Vis markers (I like Vis a Vis markers because you have to wipe them off with a wet cloth).
Let your creativity come out and have fun!
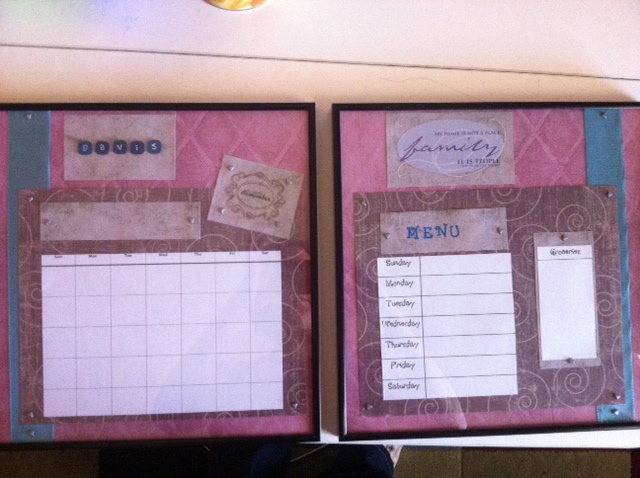
Calendar and menu (sorry about the glare).
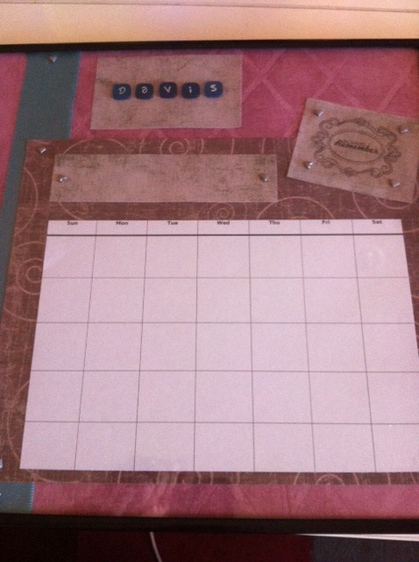
Close-up of the calendar
Twinkle Twinkle Little Star
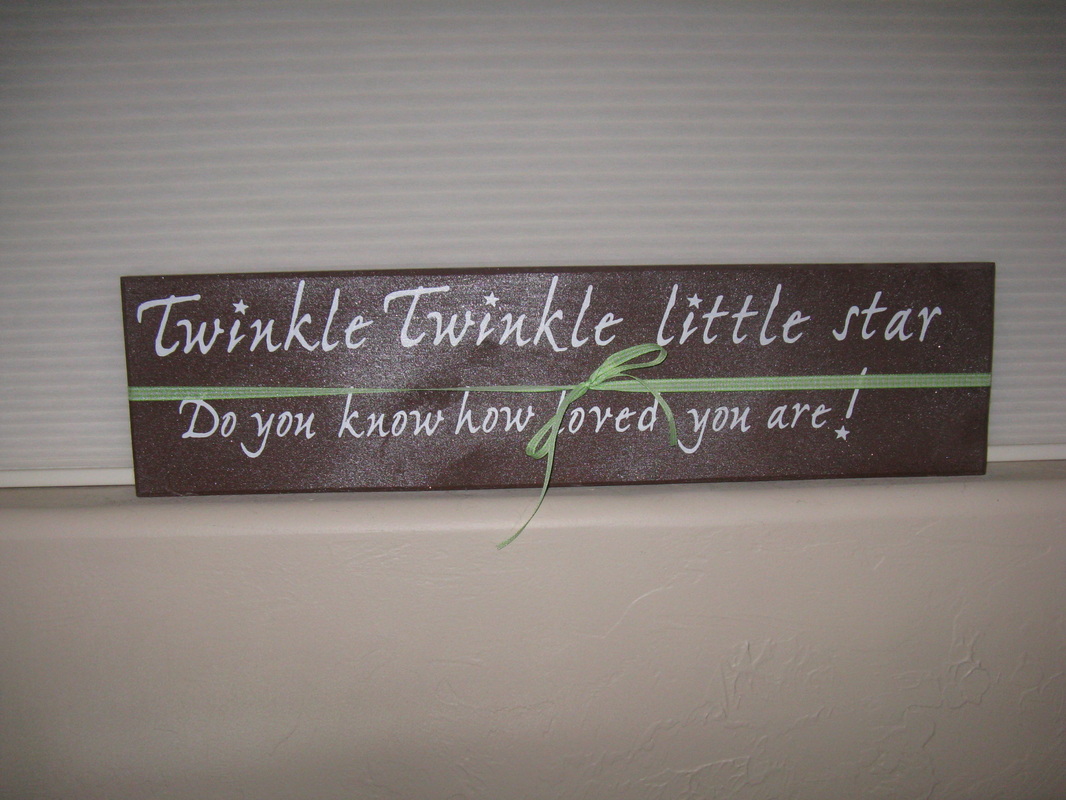
This adorable sign is in my good friend's son's nursery. It looks very professional, but is actually hand-made. Here's how to make it:
1) Get a scrap piece of wood, and paint it with acrylic paint. The board above is painted with glitter paint.
2) Then cut out vinyl letters on a Cricut® cutter (or buy letters from your local craft store).
3) After the paint on the board has fully dried, paint on a thin layer of Mod Podge. Allow that to dry for at least 20 minutes.
4) Lay the letters out and stick them on the board. Then apply another layer of
Mod Podge over the entire board and letters.
Easy as pie!
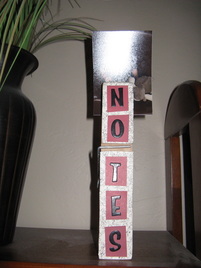
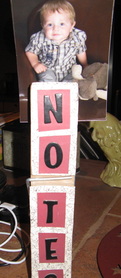
Wooden Photos
Oh how I love Mod Podge! This block was made by my creative friend Christy. She assures me it was super easy. Here's how she did it.
1) Get a block of wood that is the size of your photo (she happens to have a very handy husband).
2) Cut down your photo so it is slightly smaller than the block (this way there are no edges hanging over and you can get the Mod Podge to seal nicely).
3) Paint the entire block and allow it to dry completely. She recommends
allowing it to dry overnight.
4) Apply a thin layer of Mod Podge to the block and allow it to dry.
5) Once the Mod Podge on the block is dry, paint a thin layer of it on the back of the picture. Then lay the picture on the block making sure to smooth it out. Tip: I recommend using wax paper to lay the photo on while applying Mod Podge to the back.
6) Wait 20 minutes............. (I know, it's hard to wait). Then apply another thin layer of Mod Podge over the entire block. This will make it look as though the picture was printed on the block.
7) Add fun embellishments.
|
|
|
